Showing posts with label lavender. Show all posts

Sunday, December 28, 2008

Lavender and Calendula Bath Salts

I'd been thinking about what gifts I'd make from my two little lavender plants out front for so long. Of course I didn't manage to get it all together until 3AM or so the night before Christmas, but I'm so proud that in the end I did manage to make gifts from my garden.

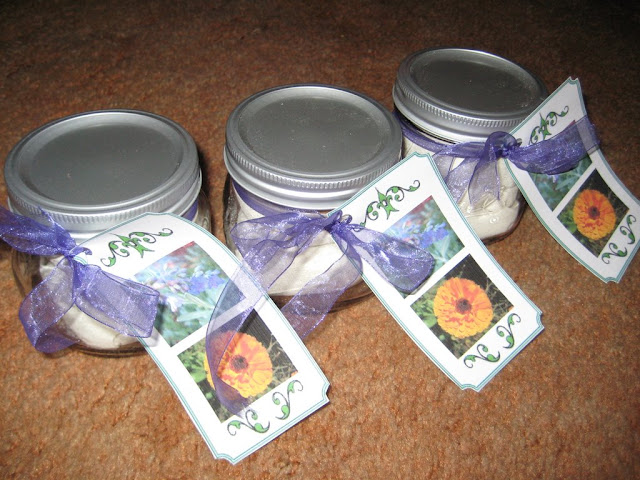
Above you can see what a couple of smaller jars looked like with the tags I made. The two pics on the tags are actual ones I took of the lavender and calendula plants growing in the backyard this summer. The other side said the following:
Homegrown Luxury Lavender & Calendula Bath Salts
Detoxifying, Softening, Soothing & Relaxing
Good for your muscles, skin & mood!
Directions for use: Place bag in bath under running water. Squeeze a couple times to completely dissolve salts and release essential oils.
Ingredients: Epsom Salts, Powdered Oatmeal, Baking Soda, Dried Lavender Leaves, Dried Calendula Flowers, Lavender Essential Oil, Food Coloring
Safe for sensitive skin and during pregnancy. Will not clog drains.
For external use only. Ask your doctor before using if you have high or low blood pressure.

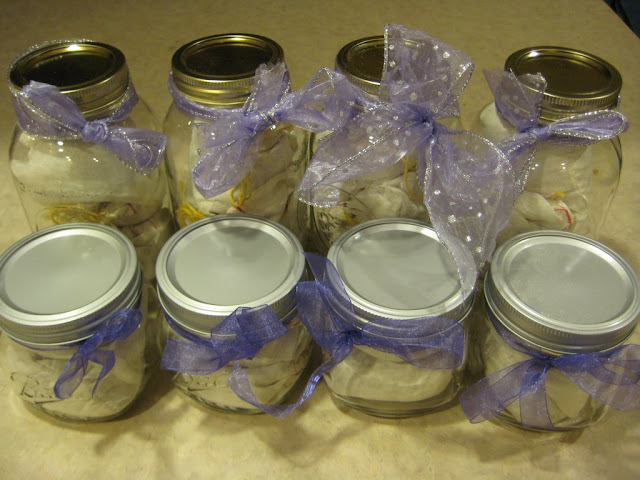
Here is a pic of the first batch I made, before tagging:
And here is the actual recipe I used, thanks to Melissa Ray Davis at http://hubpages.com/hub/How-to-Make-Bath-Salts-Guide-and-Recipe:

Ingredients:
5 cups Epsom salts

5 drops blue food coloring, optional

8 drops red food coloring, optional

30 drops lavender essential oil

1 cup baking soda

1 cup ground (powdered) oatmeal
2 Tablespoons dried lavender
2 Tablespoons dried calendula petals
Cotton muslin bags & glass jars

Preparation Instructions:

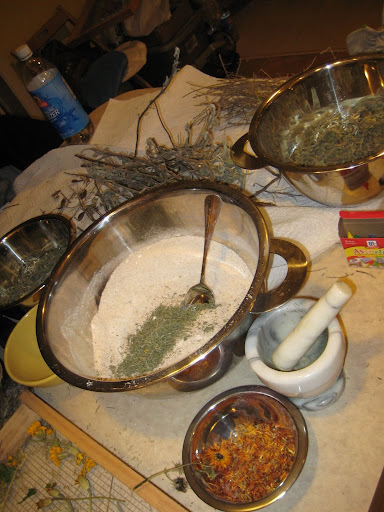
Use glass or metal mixing implements, because plastic or wood will absorb some of the ingredients. First mix all of the salts together. Then, if you are using food coloring and/or essential oil, drip them evenly across the surface of the salts. All of these liquid ingredients have a tendency to clump, so you will need to mix them thoroughly and break up all of the clumps. If you are using food coloring, it is a good way to judge when the salts are well mixed, because the colored clumps are highly visible. Next, mix in the baking soda and or ground oat meal, then add the dried flowers or herbs if you are using them. NOTE: the oatmeal must be finely ground so it will dissolve in the bath. I used a coffee bean grinder. Put 3/4 Cup of mixture into each cotton muslin bag and then put those into glass jars.

Thursday, October 9, 2008

No-Mow XeriScape: Accomplished


This is a little bit different than the rest of my blog since it isn't edible. Actually at least some of it would be, if it wasn't so close to the busy road I live on.

When my partner and I bought this house back in March, it started out as the tree, grass and bushes you can see in this original post: http://grow-peace.blogspot.com/2008/05/before-shots.html

I don't believe in mowing lawns. I feel that we should use our land to cultivate useable produce with the best technologies whenever possible. Lawns just seem so wasteful to me, with the need for chemicals to keep away "weeds" such as dandelions, which are actually edible, high in nutritional value, and delicious.

So, I decided pretty much immediately upon moving into this house that the little patch of grass in the front had to go. I shared my idea with a friend who is a Master Gardener, who to my surprise said that it would be extremely difficult to grow any flowering plants in this area since it was so close to the street and in so much bright light. He said that it would need a great deal of water to grow in this area.

Based on that advice I did a lot of research on what plants could grow in a low water bed near a road. I discovered this thing called "xeriscaping", which is basically growing gardens that are drought-tolerant and don't require supplemental irrigation. I did water them quite a bit for the first month or two after I planted them until they got established, but now I think they are pretty much on their own. I'm excited for next year when it seems like they will fill it all in very nicely.

What you see above is a recent picture of what I planted back in June (decorated with Halloween stuff obv.). I read that fuzzy, silvery plants are generally good. So I planted Blue Fescue, Lavender, Dusty Miller, and Dianthus FireWitch, as well as some fuzzy green plant towards the far right that I'm not sure of the name. They are all perennials.

The Lavender and Dianthus are edible, but from what I have read, they're planted too close to the road to eat. I asked the local Master Gardeners at the Rutger's Extension office, and they said it should be at least 10 feet, but really more, from the road to be safe to eat.

One thing that really surprised me is that the rabbits in my hood seemed to like the Dusty Miller. It is supposedly poisonous to humans so I'm surprised that the rabbits like it. But apparently they do- after we prevented them from getting the lettuce in the backyard, I guess they were forced to eat the Dusty Miller out front. I put holographic daisy pinwheels around the plants to scare the rabbits away, and that seemed to work pretty well. The Dusty Millers got bigger after that, although they never produced flowers. I'm not sure if that is because of the rabbits or just since it was the first year.

I hope to eventually propagate these plants into the backyard so I can eat them, but for now I figure I can use them as potpourri for holiday gifts. You know, make them into sachels for lingerie drawers and all that good stuff. I have pics of the latest harvest I got, and more detailed pics of the individual plants but for some reason I can't upload them right now.
Creative Commons License
Grow Peace Dance is licensed under a Creative Commons Attribution-NonCommercial-ShareAlike 3.0 Unported License.
Based on a work at grow-peace.blogspot.com.